In case you haven’t heard - Microsoft now has two great DevOps products.
Both are still very well supported and I have a number of conversations day to day with people who use both GitHub and Azure DevOps.
This post is a quick intro into running a self-hosted agent in GitHub. For those who are used to Azure DevOps the steps are familiar but the UI is differrent.
Differences between Azure DevOps and GitHub
- Azure DevOps has Pipelines for CI/CD, GitHub has Actions
- Azure DevOps has Microsoft-hosted and self-hosted Pipeline Agents, GitHub has GitHub-hosted and self-hosted runners
The steps are pretty simple:
- Open your GitHub account and copy script from settings
- Add a new workflow to your GitHub repository to use your agent
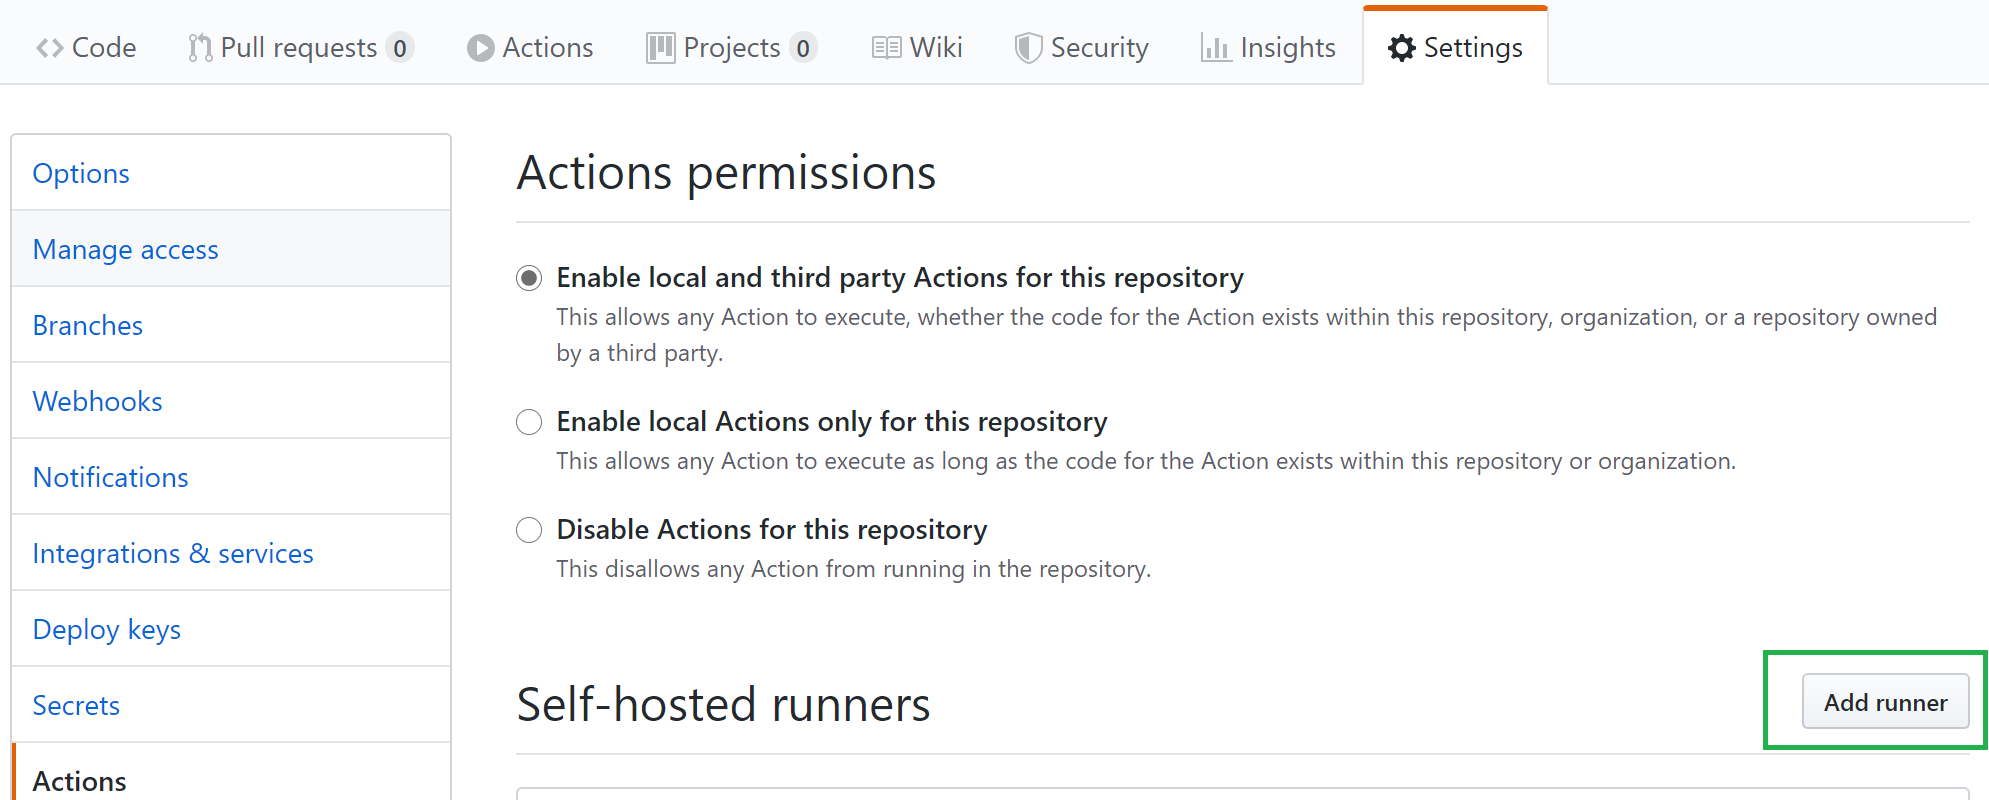
Add your runner in GitHub settings | Actions
1) Select Settings | Actions then Add runner
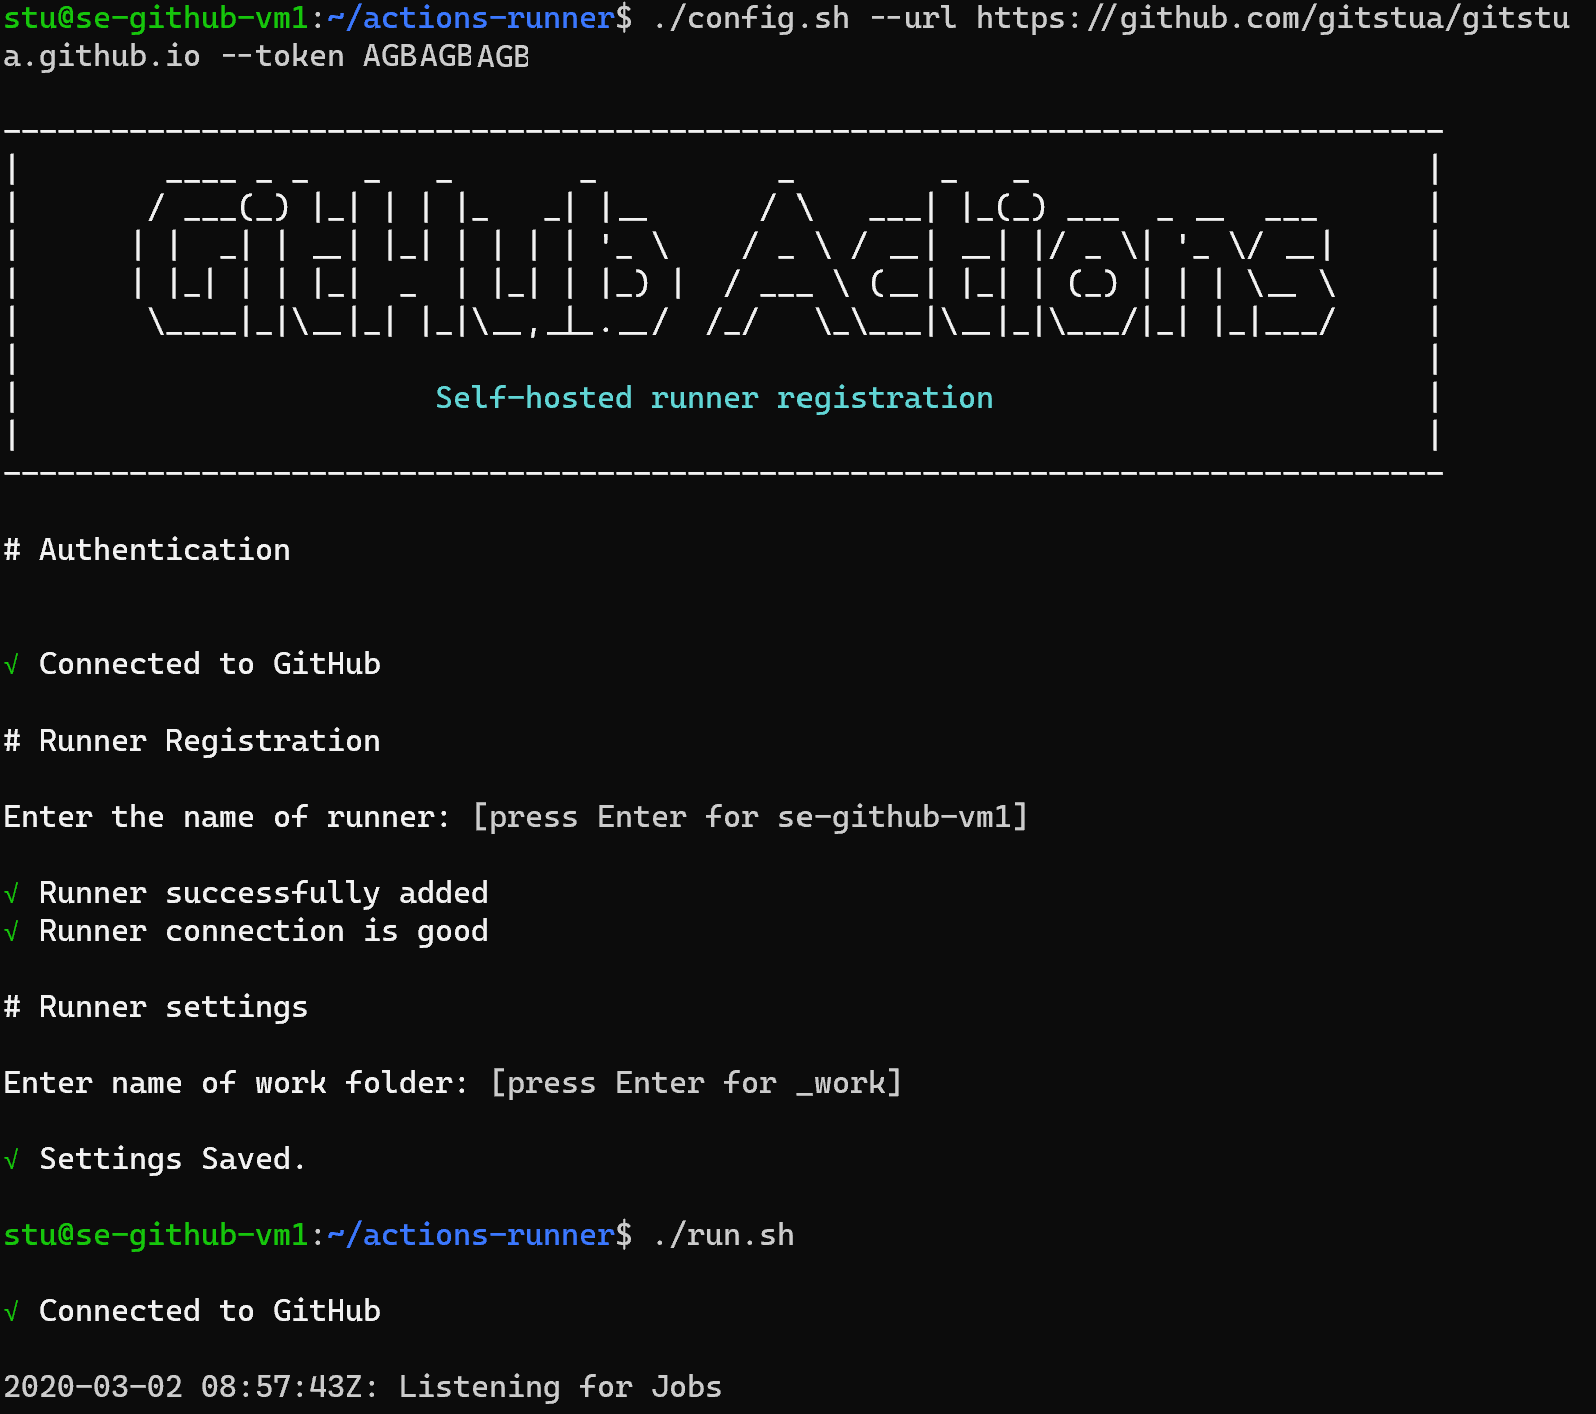
2) Copy the Download script (note it includes the token to authenticate)

3) Run on your VM
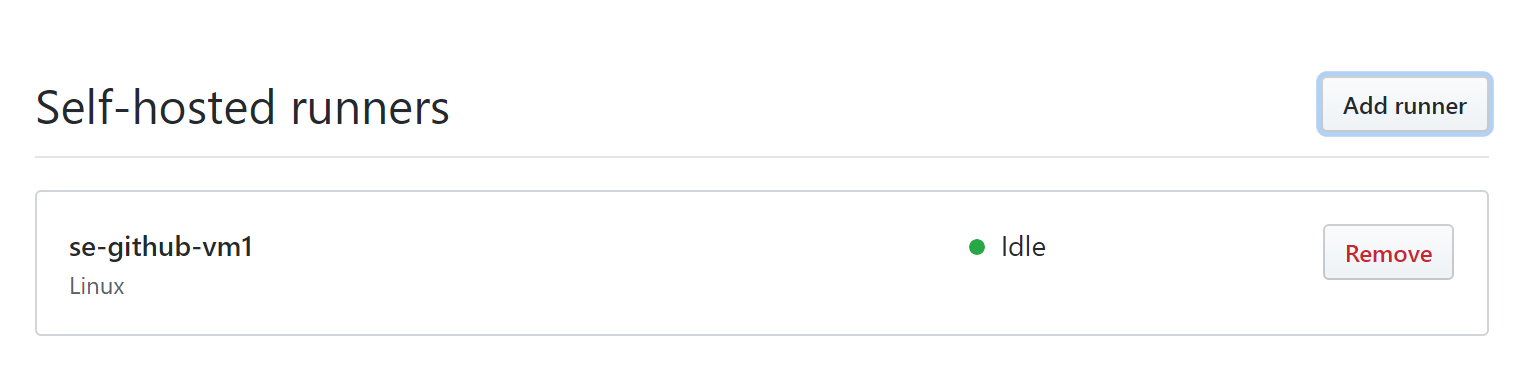
4) Your runner should show in self-hosted runner
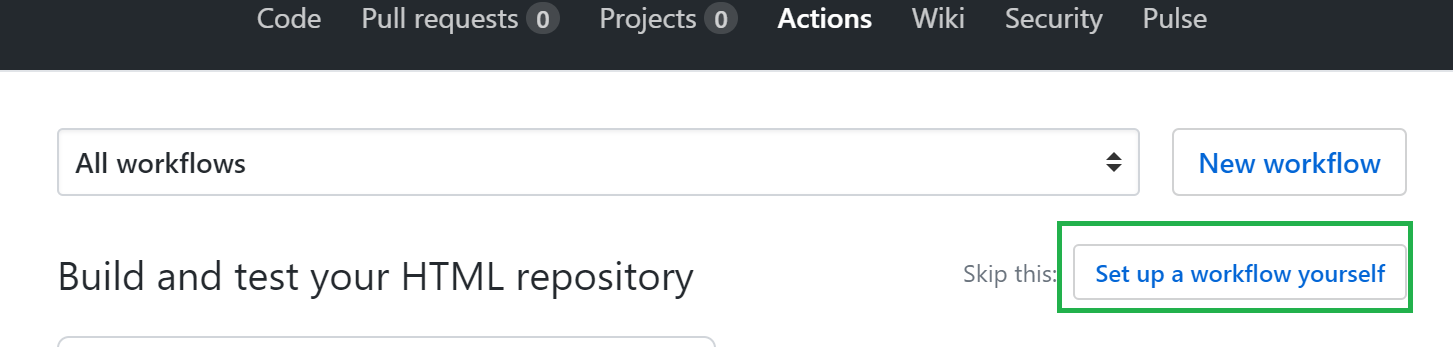
5) Create a new workflow and add your code

6) Select Set up a workflow yourself
7) Enter a sample script (uses YAML - if you are new to YAML use a YAML verifier)
name: CI-Self-Hosted

on: [push]

jobs:
  build:

    runs-on: self-hosted

    steps:
    - uses: actions/checkout@v2
    - name: Run a multi-line script
      run: |
        echo Hello from Workflow!
        hostname
8) Commit it

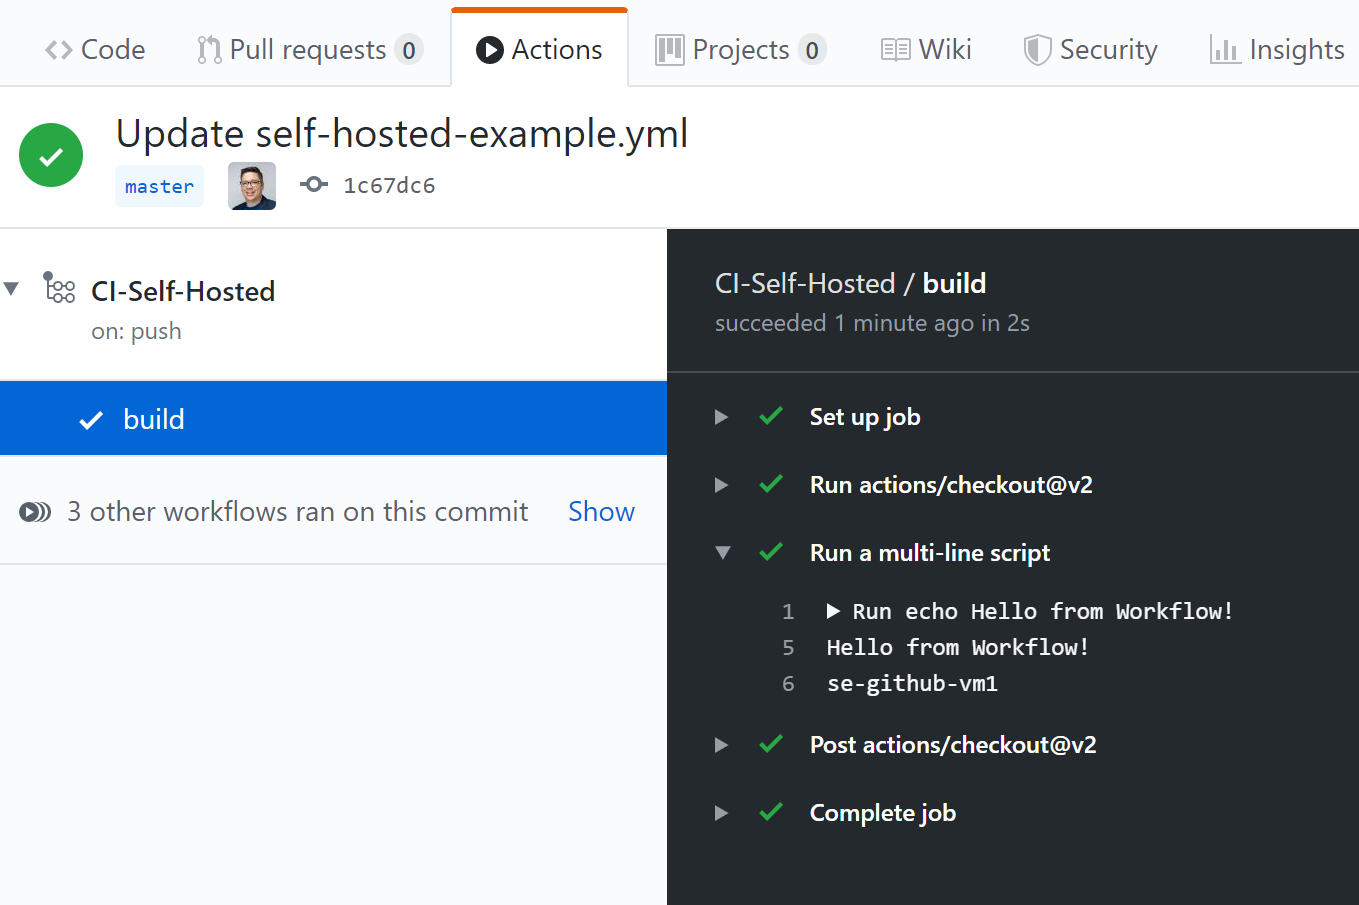
9) Review the output
Summary
For those used to the simplicity of configuring Azure DevOps Pipelines visually losing this option and moving to YAML may be a little scary at first however once you get used to it I believe GitHub Actions will be a great engine for both your opensource and enterprise applications.